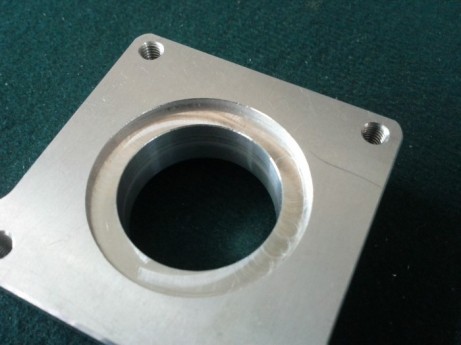
There’s a motor mount, 60mm sq.(2.36 inch sq.) as the picture below
and the edge in center of motor is not made but only when it has to be placed in center exactly,
the fixed hole can be right in case the motor equips.
The hole inside is 30π actually but it should be made 2mm deep more from 40π.
So…we made a type of the Edge Finder.
There’s a existing similar one and have seen it some people have made but
it was not proper for usage and only worried.
There’s another one in commercial product while spinning to be leaned to corner
such as “Accu Center” ?? but it is inconvenient in the engraver which
can not do “Tool Change” and the diameter is only 10π
No matter how much we guessed, it did not ring a bell.
In the meanwhile,
We thought it for 3 days that undertook a certain working that has to be made correctly
considering the method to measure precisely both side of sheet & the place of corner…
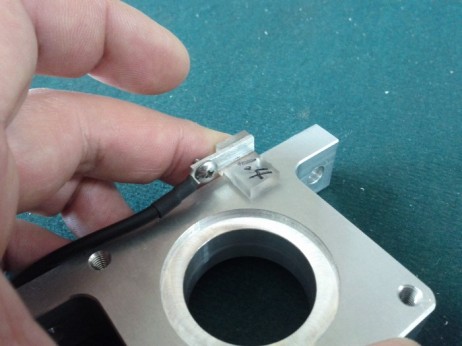
Thus.. “the Edge Finder” was made as follows.
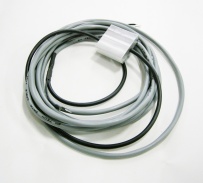
It is used by acrylic and attach aluminium for electrical contact upper and
the wire is connected to Zero Tool Sensor.
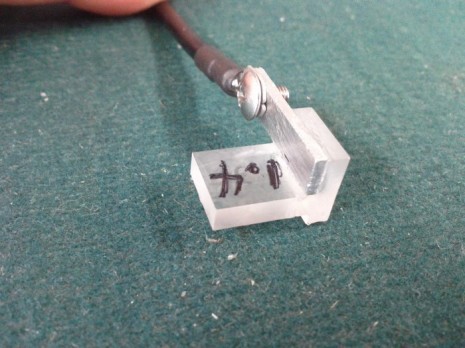
The touch is set automatically and it is a same motion as Zero Tool Sensor.
By the way,
One problem is that X, Y axises vary with the diameter depend on using Endmill unlike Z axis.
That is to say, it has to calculate.
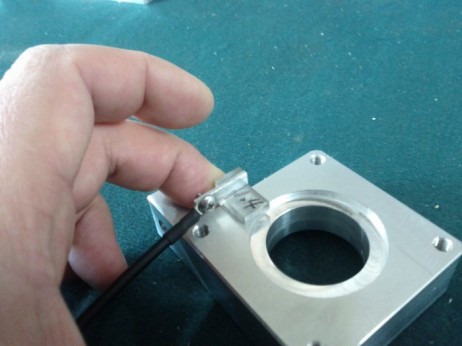
First, you start it from the edge of X axis and do it from the corner of Y axis.
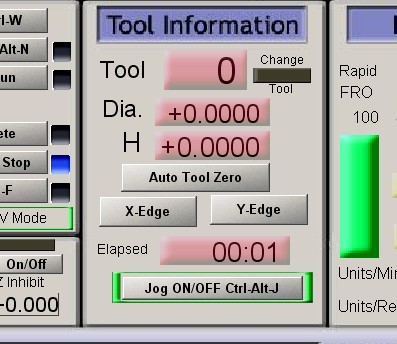
You modify even the screen.
If push the button, X-Edge and X axis works, if push Y-Edge, Y axis works,
therefore….it finishs finding the original points for X,Y edges.
The result was much much satisfied.
It’s been made in exact center within tolerance that could not check
by Vernier Clifers as first picture.
We struggled for 30 Min. finding it before doing this but it still had much tolerance .
& were able to find the original point of corner precisely within less 30 seconds with this.
If you go to the screen that can modify each button in the “Edit Button Script” and
input the height of sensor compared to edge at where
the X-Edge is “SetDro(0,1.4)”and Y-Edge is “SetDro(1,1.4)”
First, touch the sensor by F100 and move back 2 mm.. and then..touch by F20 again and halt.
In this time, should change the value of DRO in each axis after you do
the height of sensor + the half of Endmill diameter.
For instance, If the End mill is 3 mm,
1.4+1.5=2.9 & input to DRO value and the current palce of Endmill can be 2.9
One more important point !!
The Endmill has cutting peak and a certain part of it can be smaller than diameter.
In other words, you should set the direction while you rotate it by hands so that
the biggest diameter of it can reach sensor.
— Refer to Mach3_all_ver2.set (Save in Computer and Run it)
– Zero Tool Sensor.